


I absolutely love baking, I find it very therapeutic. However, I don’t do it as much as I used to as I was putting on weight far too quickly with all the spoon licks and fingers around the bowl. Now I only bake when the holidays come around and, even then, it’s just for my friends or family. Now it’s Easter and we’re having a big family get together this weekend and I thought the perfect accompaniment to our tea and coffee would be Easter Shrewsbury Biscuits.
Shrewsbury biscuits (or Shrewsbury cakes as they are sometimes known) were first documented in the 1500s and are thought to be the Midland’s equivalent of shortbread. There are many variations of the standard Shrewsbury biscuit recipe but the one I use is from a cook book my mum bought back in the 1970s. The recipe is very simple and makes between 10 – 14 biscuits, depending on the size of egg you use.
What You’ll Need
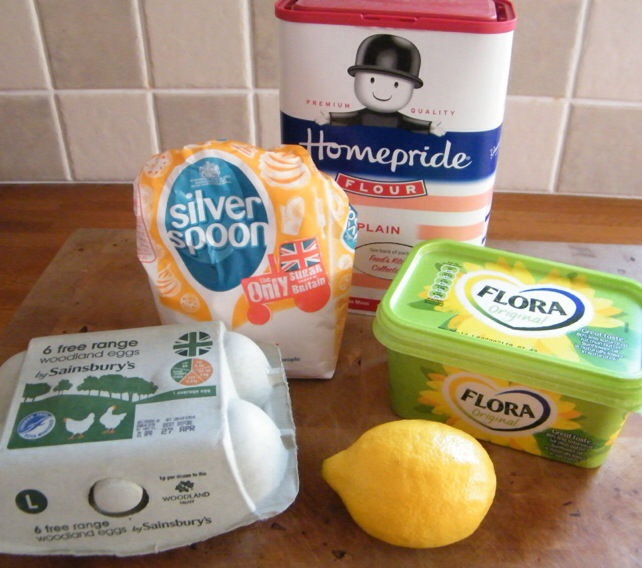
- 56g (2oz) of butter (I use Flora margarine to reduce the fat content)
- 56g (2oz) of caster sugar
- 1 egg
- 112g (4oz) plain flour
- Grated rind of 1/2 lemon (I usually do the whole lemon for the plain biscuits)
- White ready to roll icing
- Various food colourings
You can add 28g (1oz) of chocolate drops or chopped nuts if you weren’t planning to ice them.
Making the Biscuits
- Cream the butter and sugar together until it becomes light and fluffy
- Beat in the egg – I have an oversized hand whisk I use for this to make sure the air is kept in the mixture
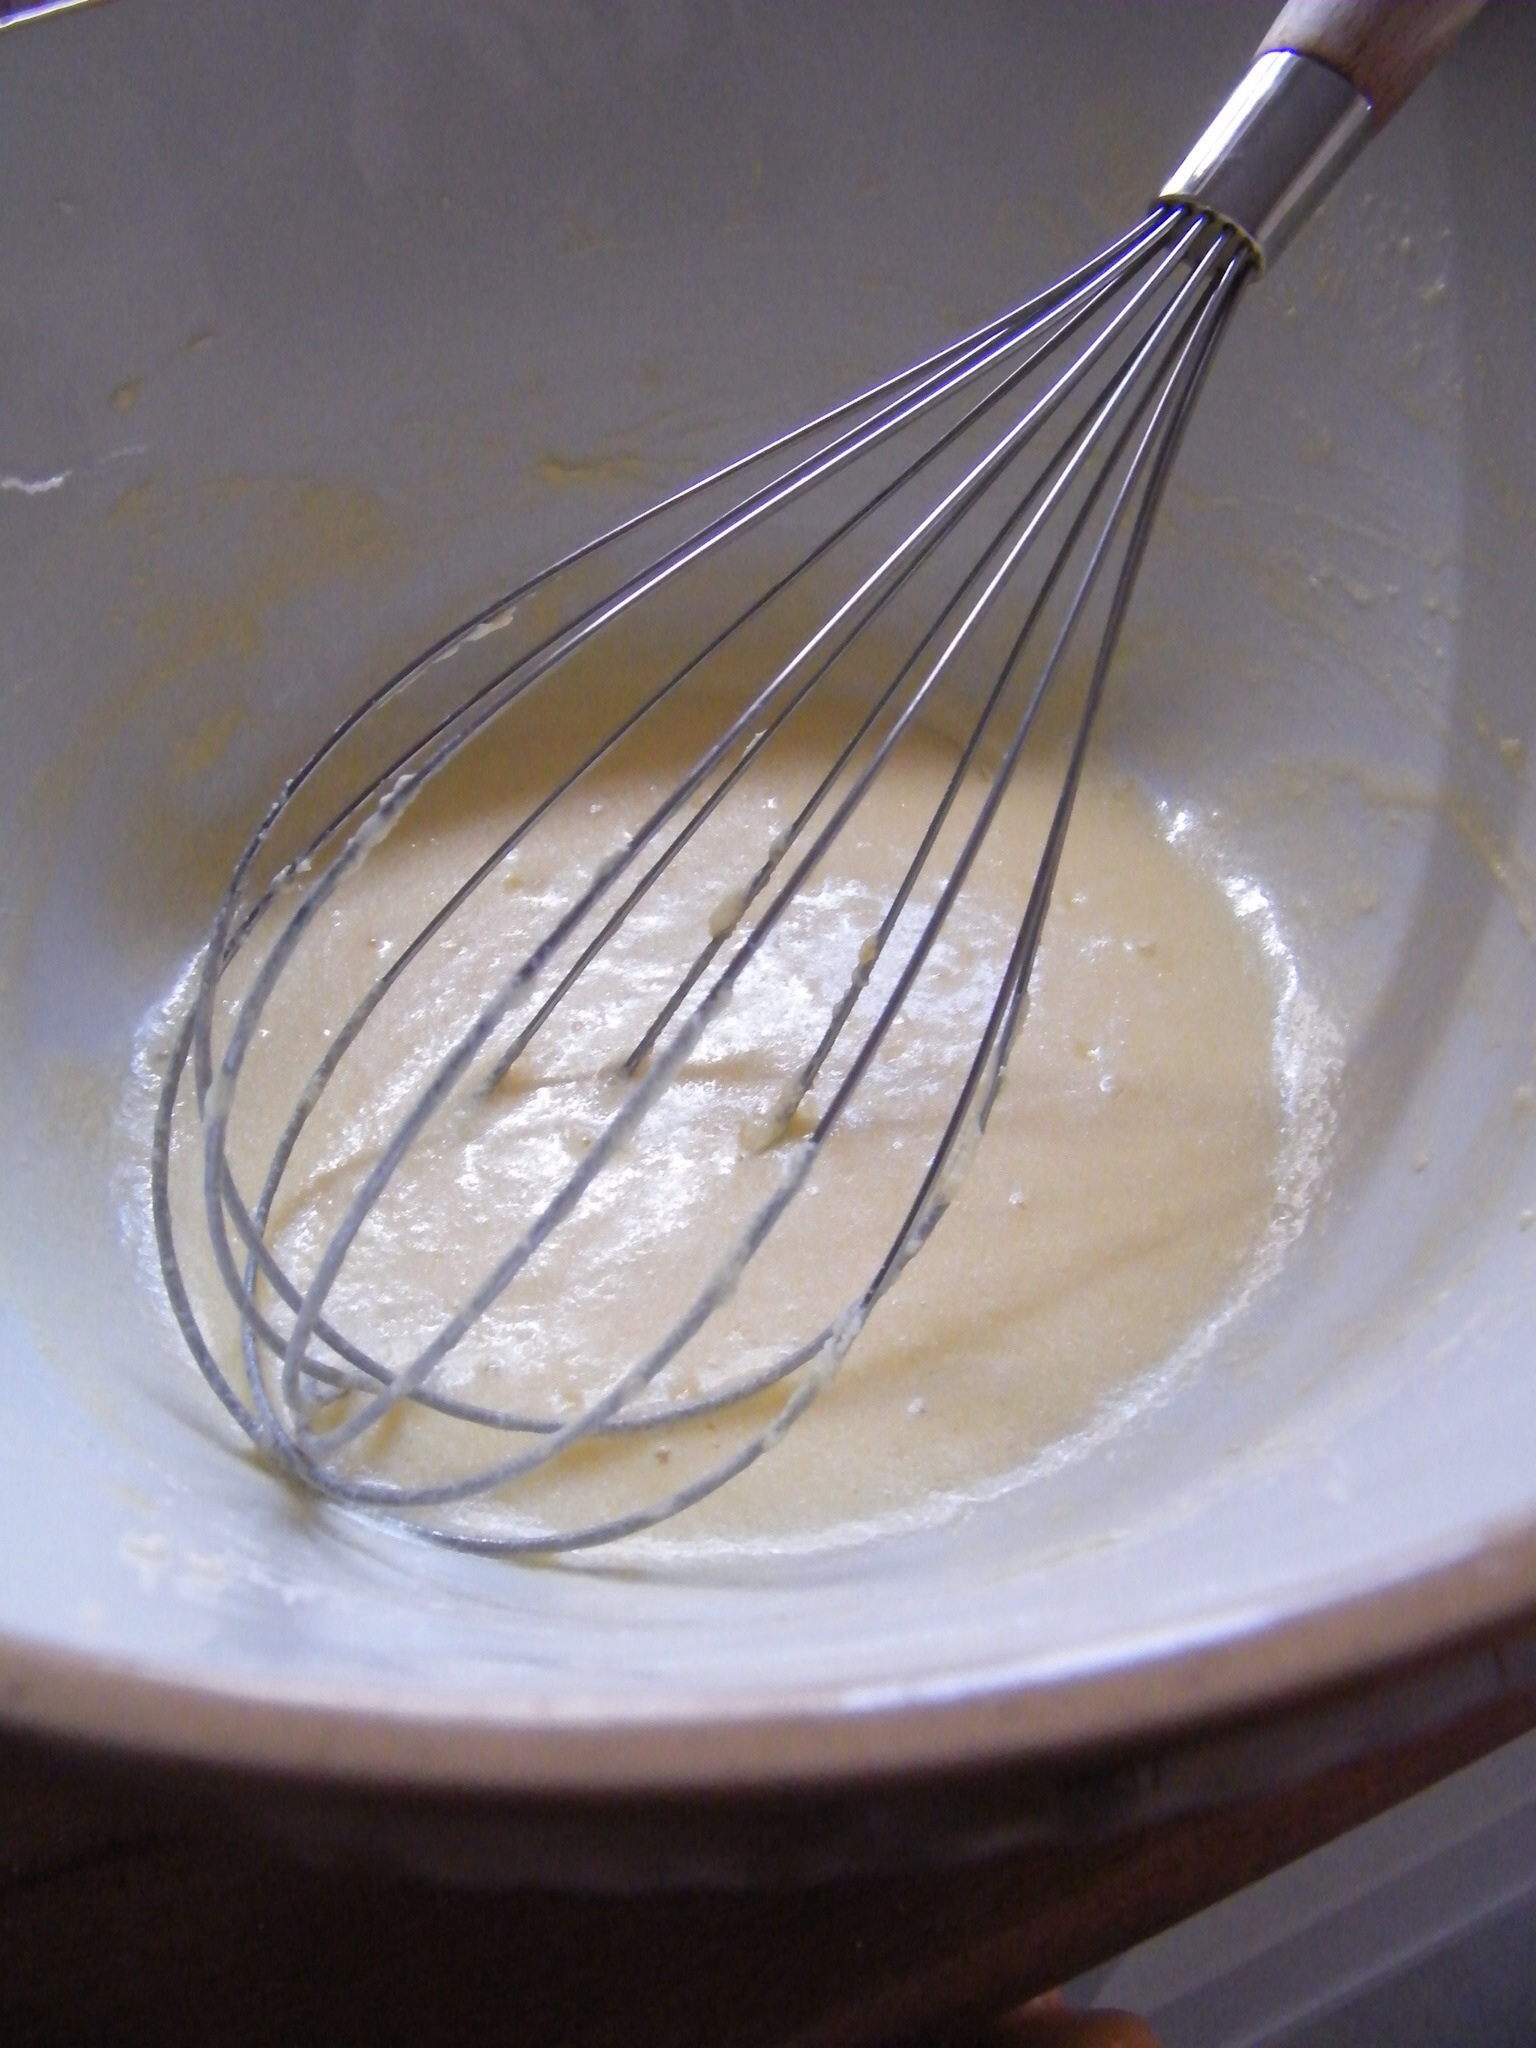
- Grate the lemon rind and stir it in along with the sieved flour
- If you have used a large egg it is likely the mixture is still a bit runny. Slowly add a little extra flour to form a stiff dough much like a bread dough. You will need to use your hands at this point to bring the mixture together.
- Place the dough on a floured board and knead lightly to soften it up
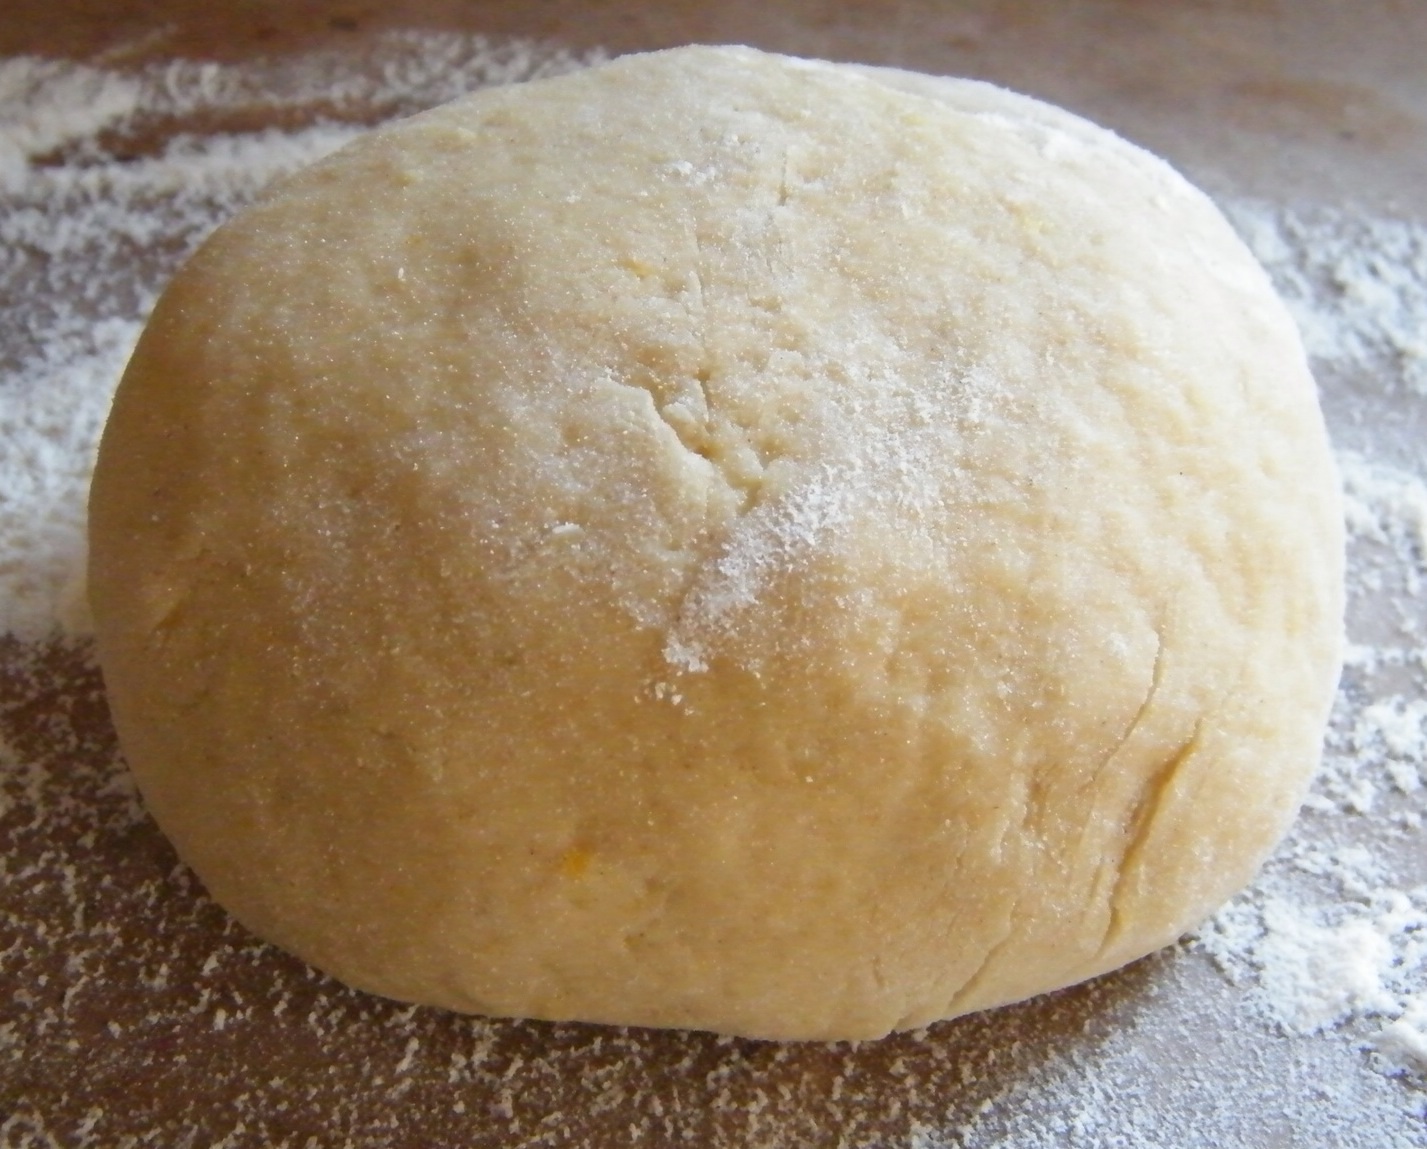
- Roll it out until it is about 1/2cm thick. It will spring up slightly once it’s left to rest to make it a little thicker.
- Cut the dough into shapes using cutters (I bought mine from eBay for about £3) and place on a baking tray. I always grease the tray with butter and place baking parchment on top for easy removal of the cooked biscuits.
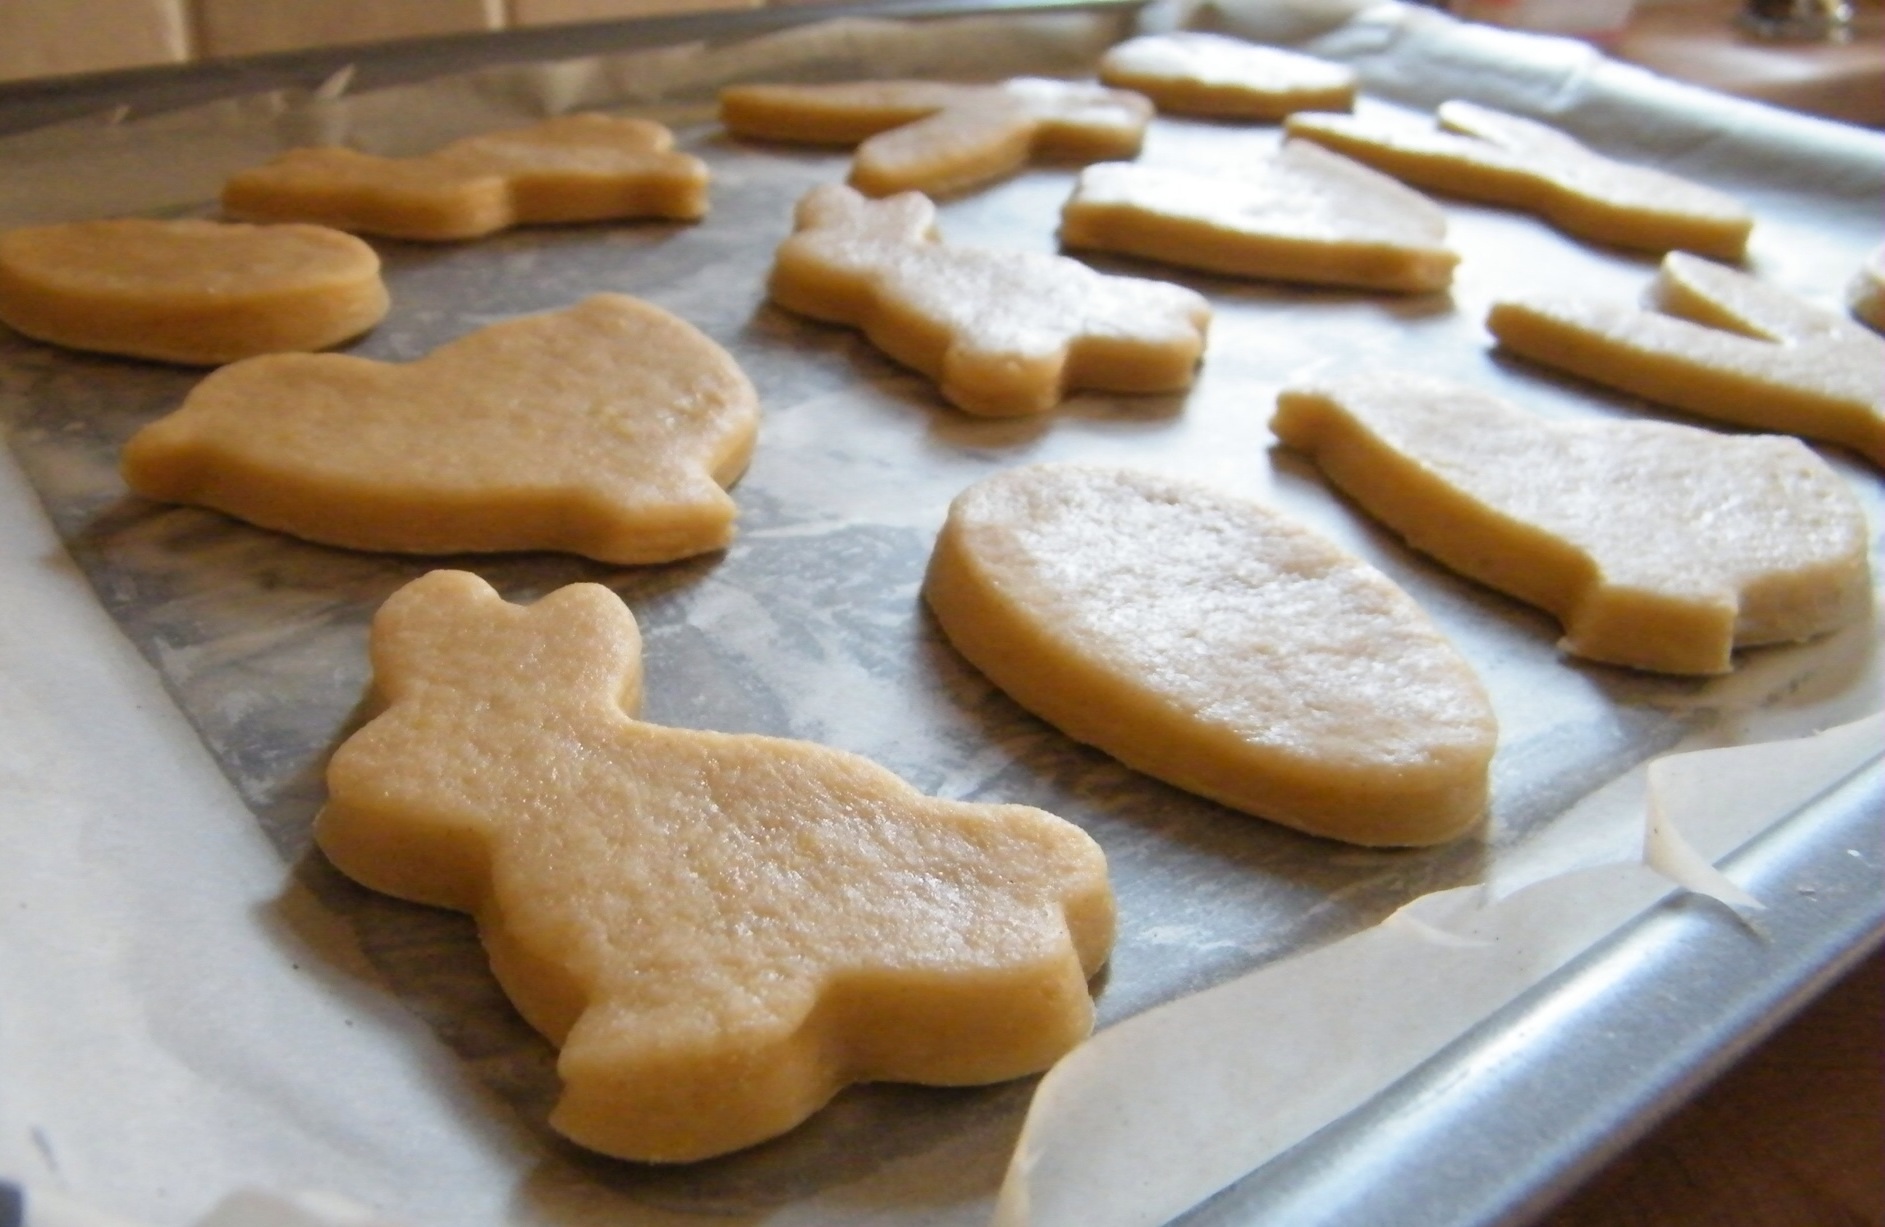
- Place in a preheated oven at 170°C and bake for 10-15 minutes until they turn a pale golden colour
- Once done place them on a cooling rack to cool down
Icing the Biscuits
I discovered along time ago that I am useless at piping with icing. I can manage piping butter cream onto a cupcake but anything delicate, forget it. In my frustration I discovered the joys of ready-to-roll icing. To begin with I would buy every colour I needed in a separate block, costing me a small fortune but then I tried to colour white icing which was a big success and, as I already had loads of colourings, I could make any colour I needed. I still buy black, however, as this never turns out how you want it.
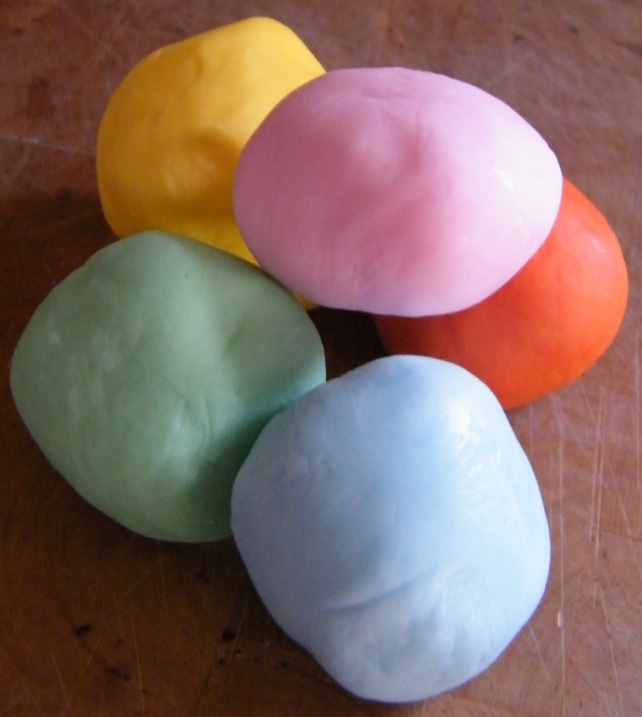
- To colour ready-to-roll icing cut a slice of white icing and roll it around in the palms of your hands to soften it up
- Place the ball of icing in a small bowl and press your thumb into the centre of it to create a well
- Add a few drops of your chosen colouring to the well and, using a spoon, start kneading the colour into the icing. This will save your hands getting completely covered in colouring.
- Once the liquid has gone into the icing use your hands to mix it in fully. I find rolling it into a sausage shape, folding it and repeating the action does the trick the quickest.
- Keep adding drops of colouring until you get the right colour
- Roll the icing balls onto a board covered in icing sugar and cut into the shapes you require to create your design. I use the biscuit cutters as guides to get a decent shape.

- Attach the icing to the biscuit using a little icing sugar mixed with water. I tend to use my finger to spread it on as I find I can be more accurate but I’m sure a small brush would be just as good.
- Mould any joins together by gently pushing the icing towards each other. It is usually very pliable at this point so be as careful as you can.
- Place the biscuits back on the cooling tray to allow them to harden
And there you have it, Easter Shrewsbury Biscuits…

I have used this recipe many times, with and without icing…

These were for the Queen’s Jubilee and you can see just how bad my piping is, but you get the idea.
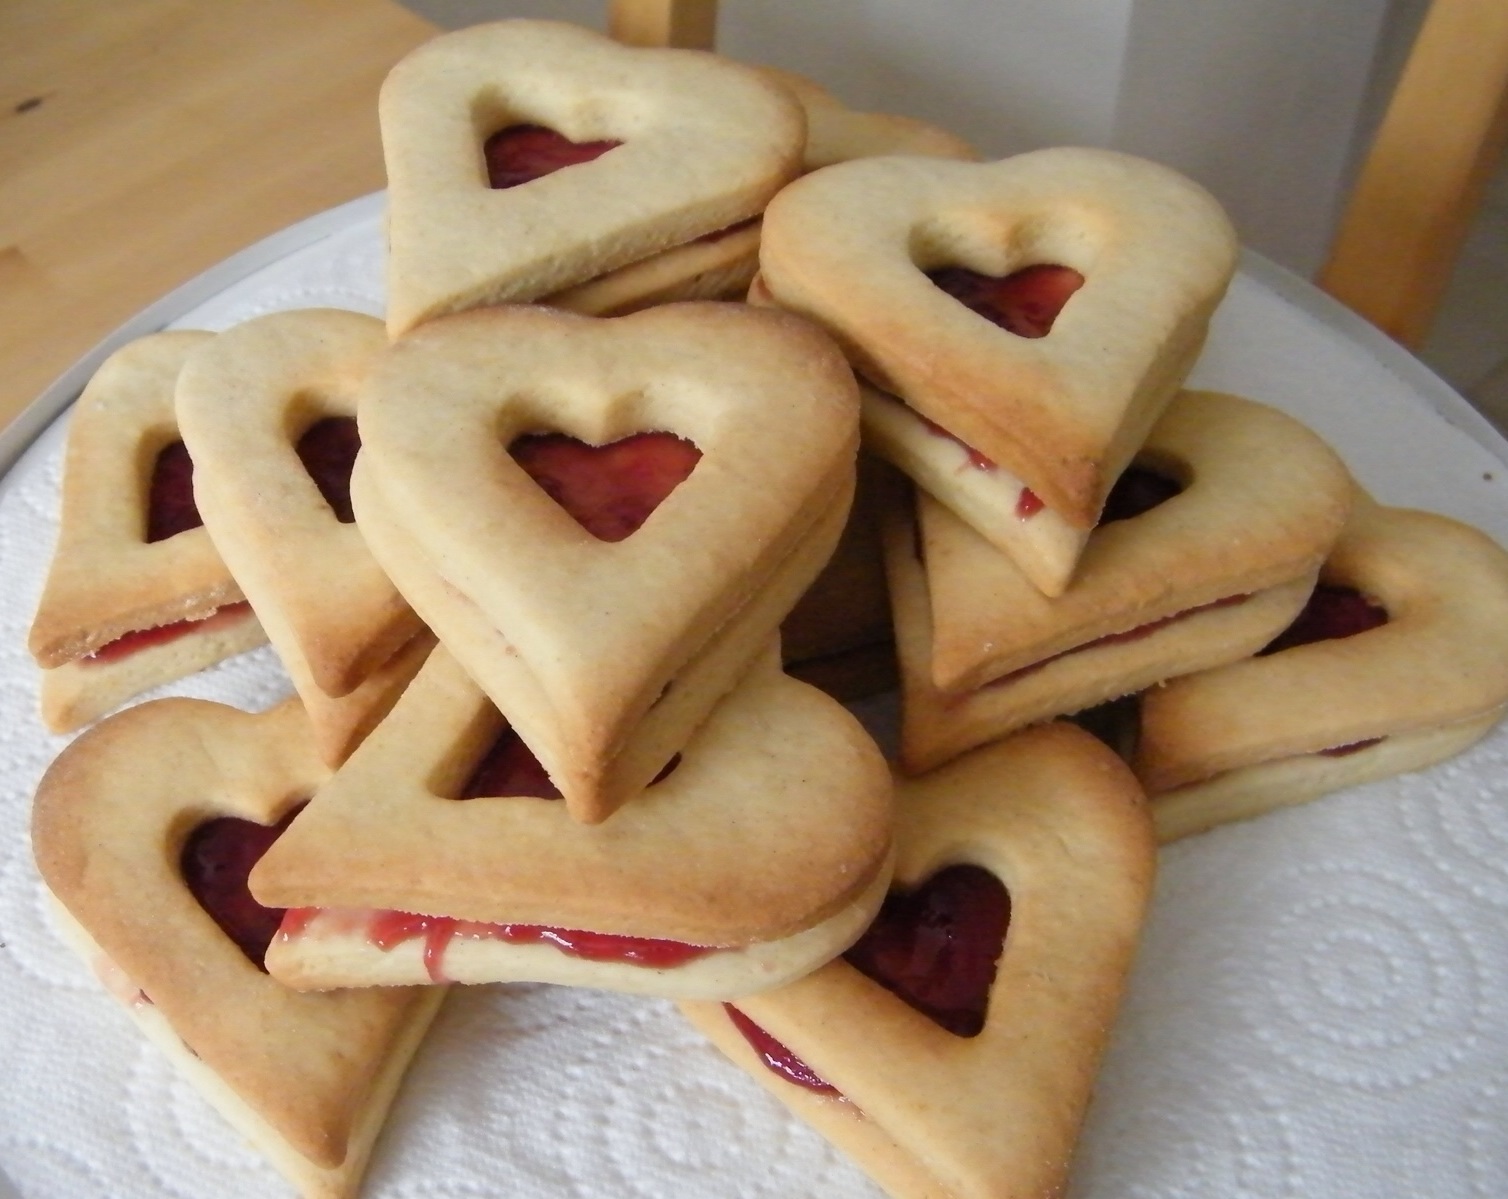
These were one of my favourites, made for Valentine’s Day, and rather than icing them I added jam in between two biscuits, one with a small heart cut out. They remind me of jammy dodgers!


One Comment
Comments are closed.